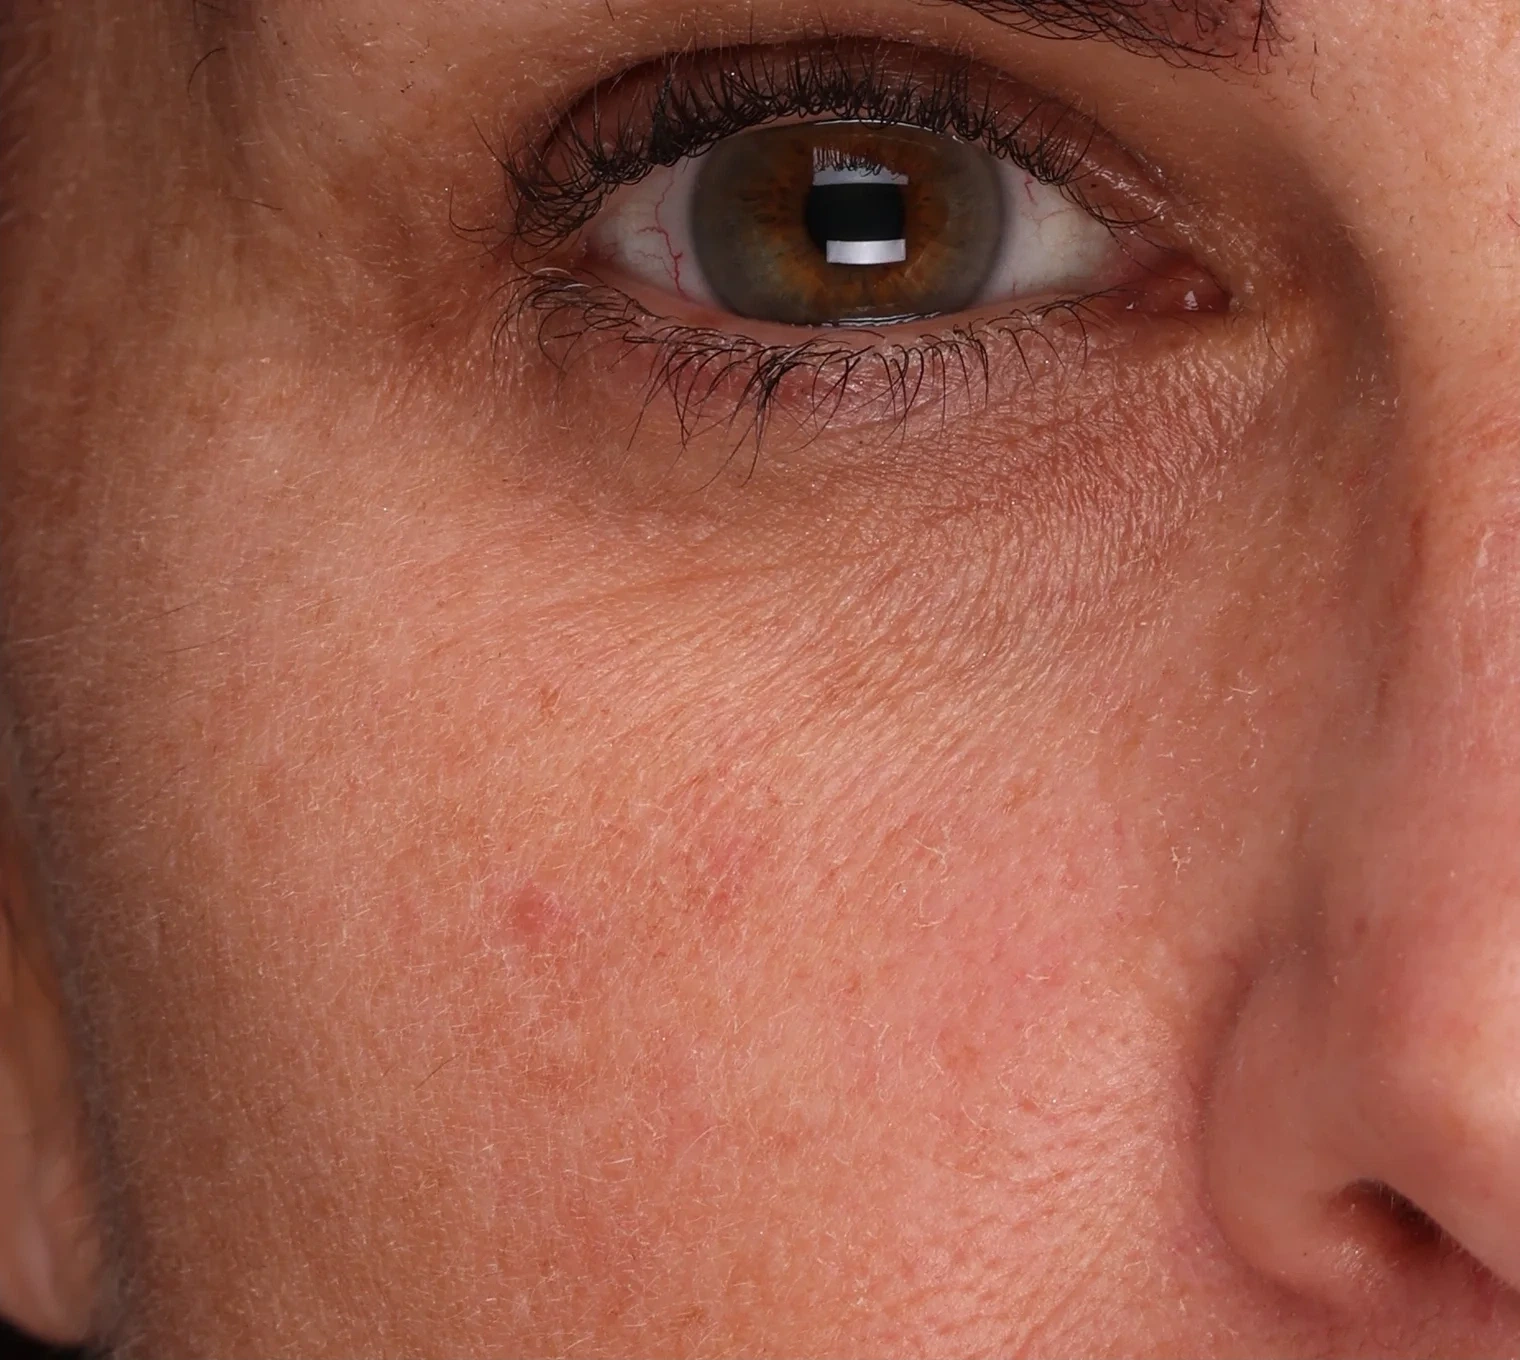
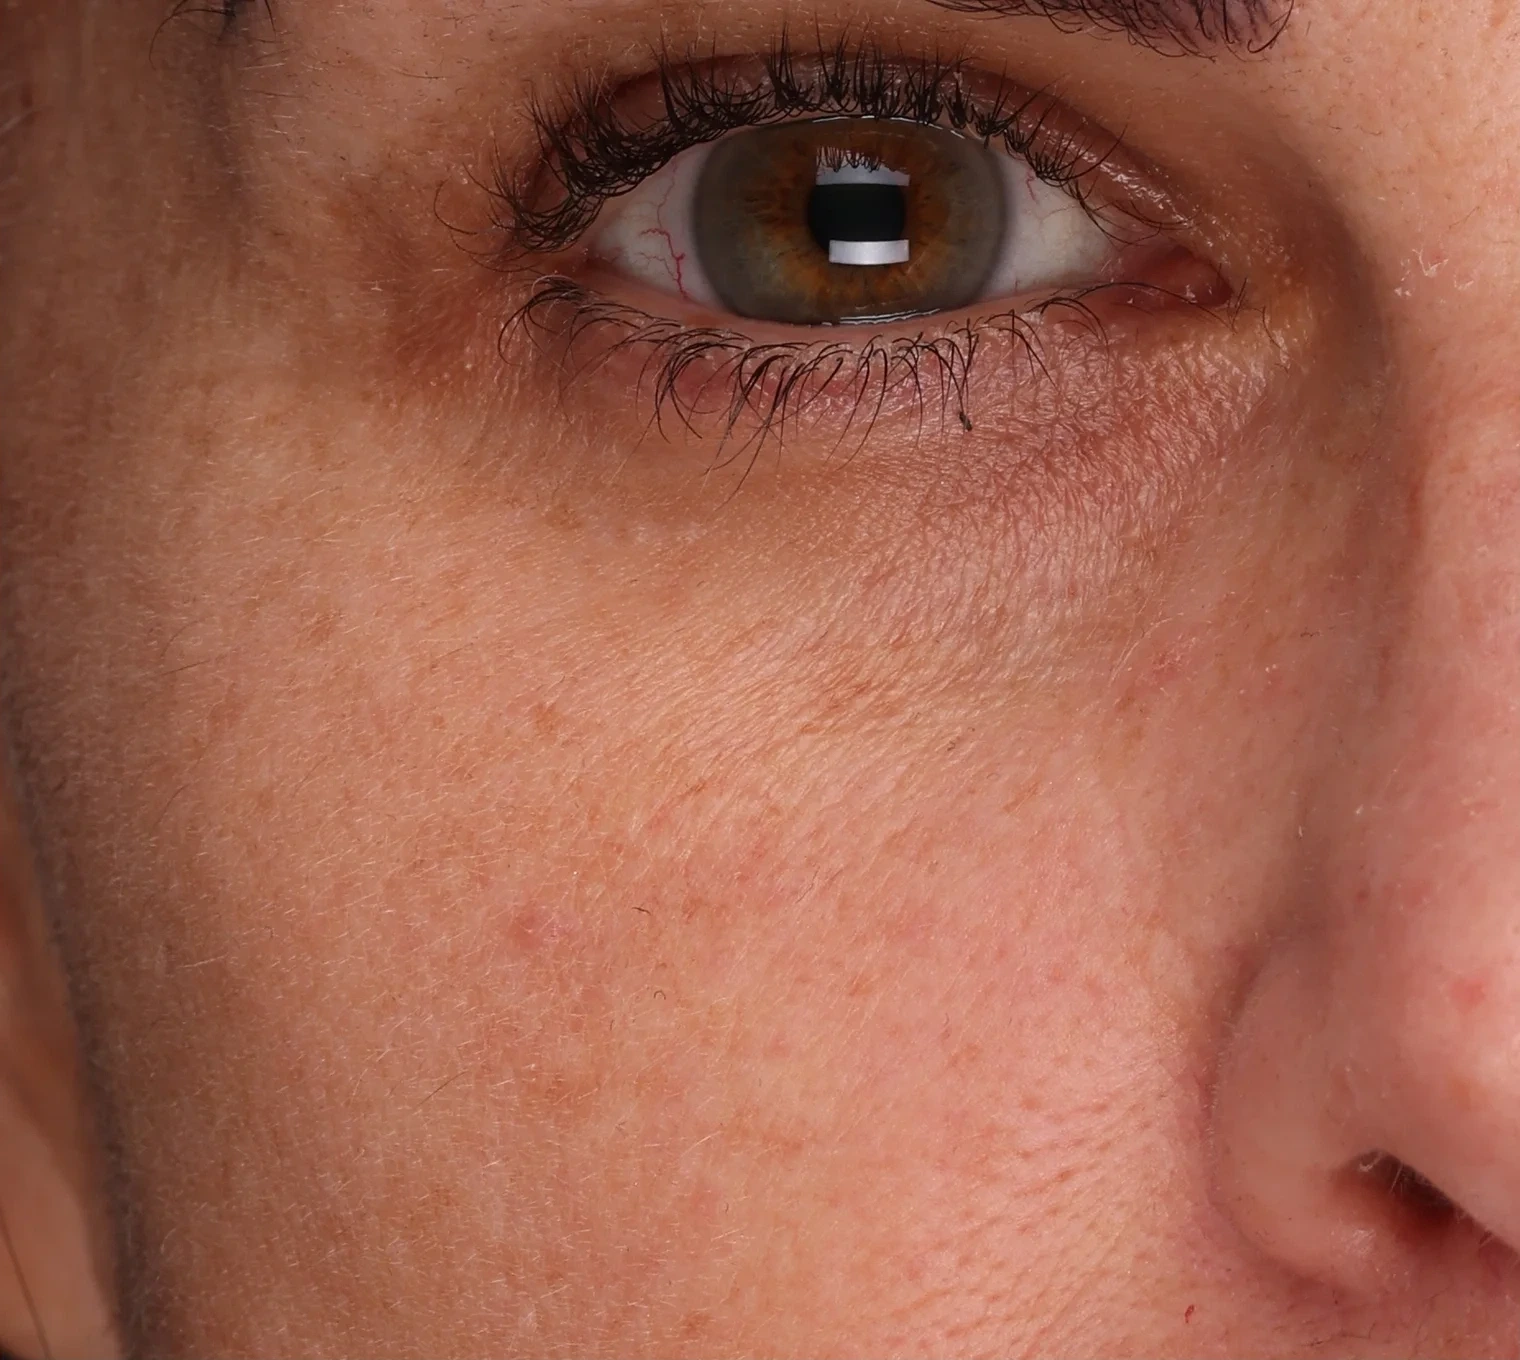
Case study, under-eye
One study shown under multiple very different styles for marketing
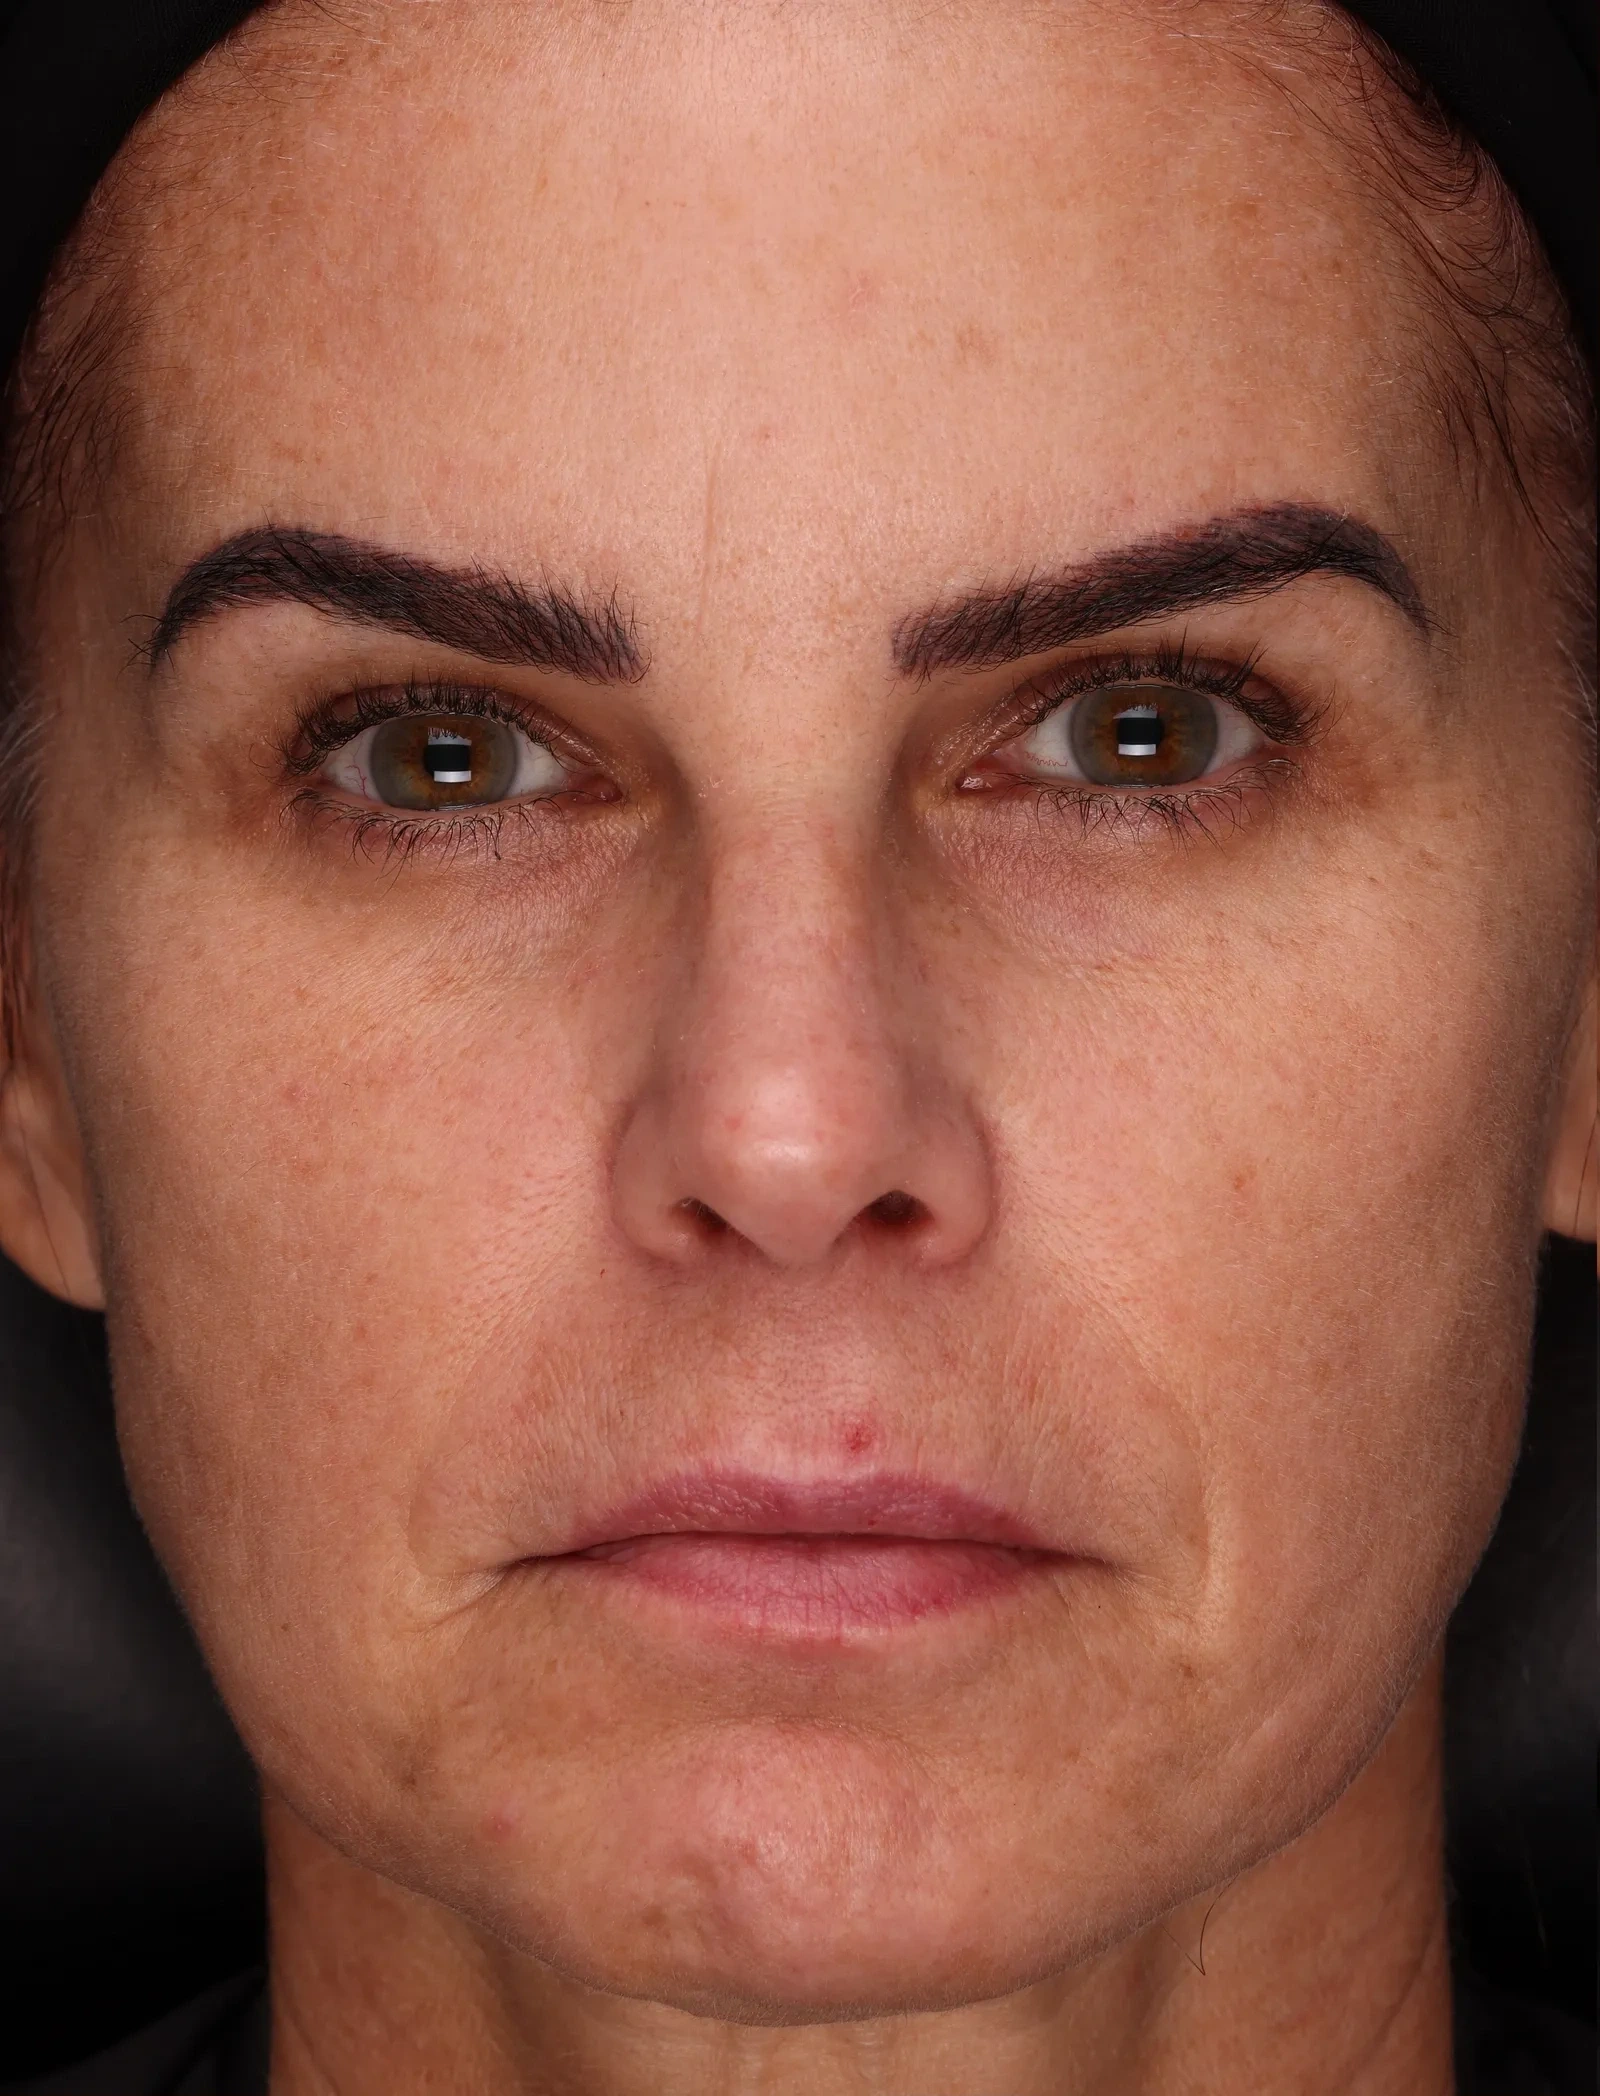
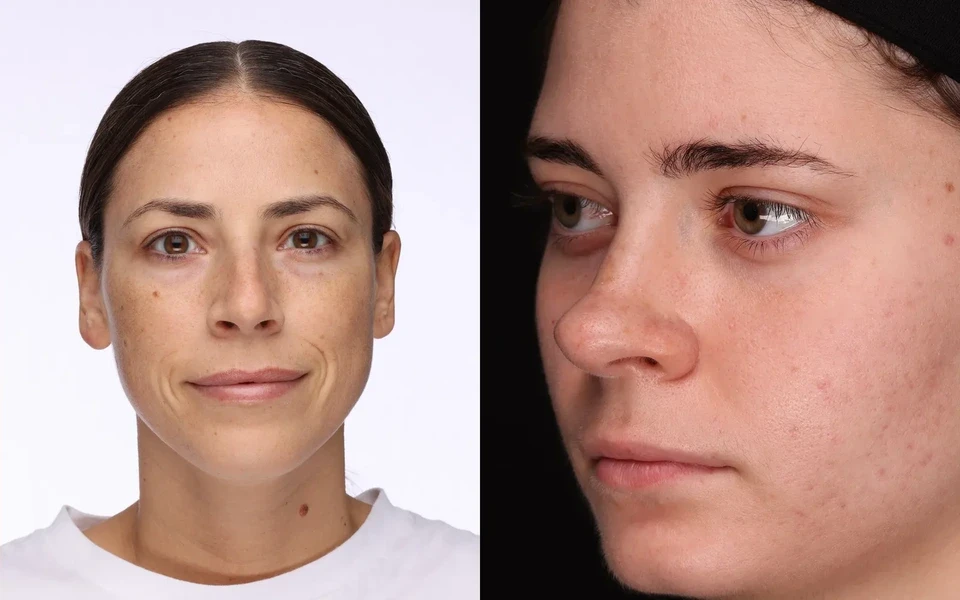
When images are captured at high resolution under tight control, we can present them in almost any format we can dream up. Here is one under-eye pair from a 6-week serum study, baseline and week 3, shown six ways. Have another idea? We are flexible, and we can build it with you.
1. On screen and video
Zoom as you scroll
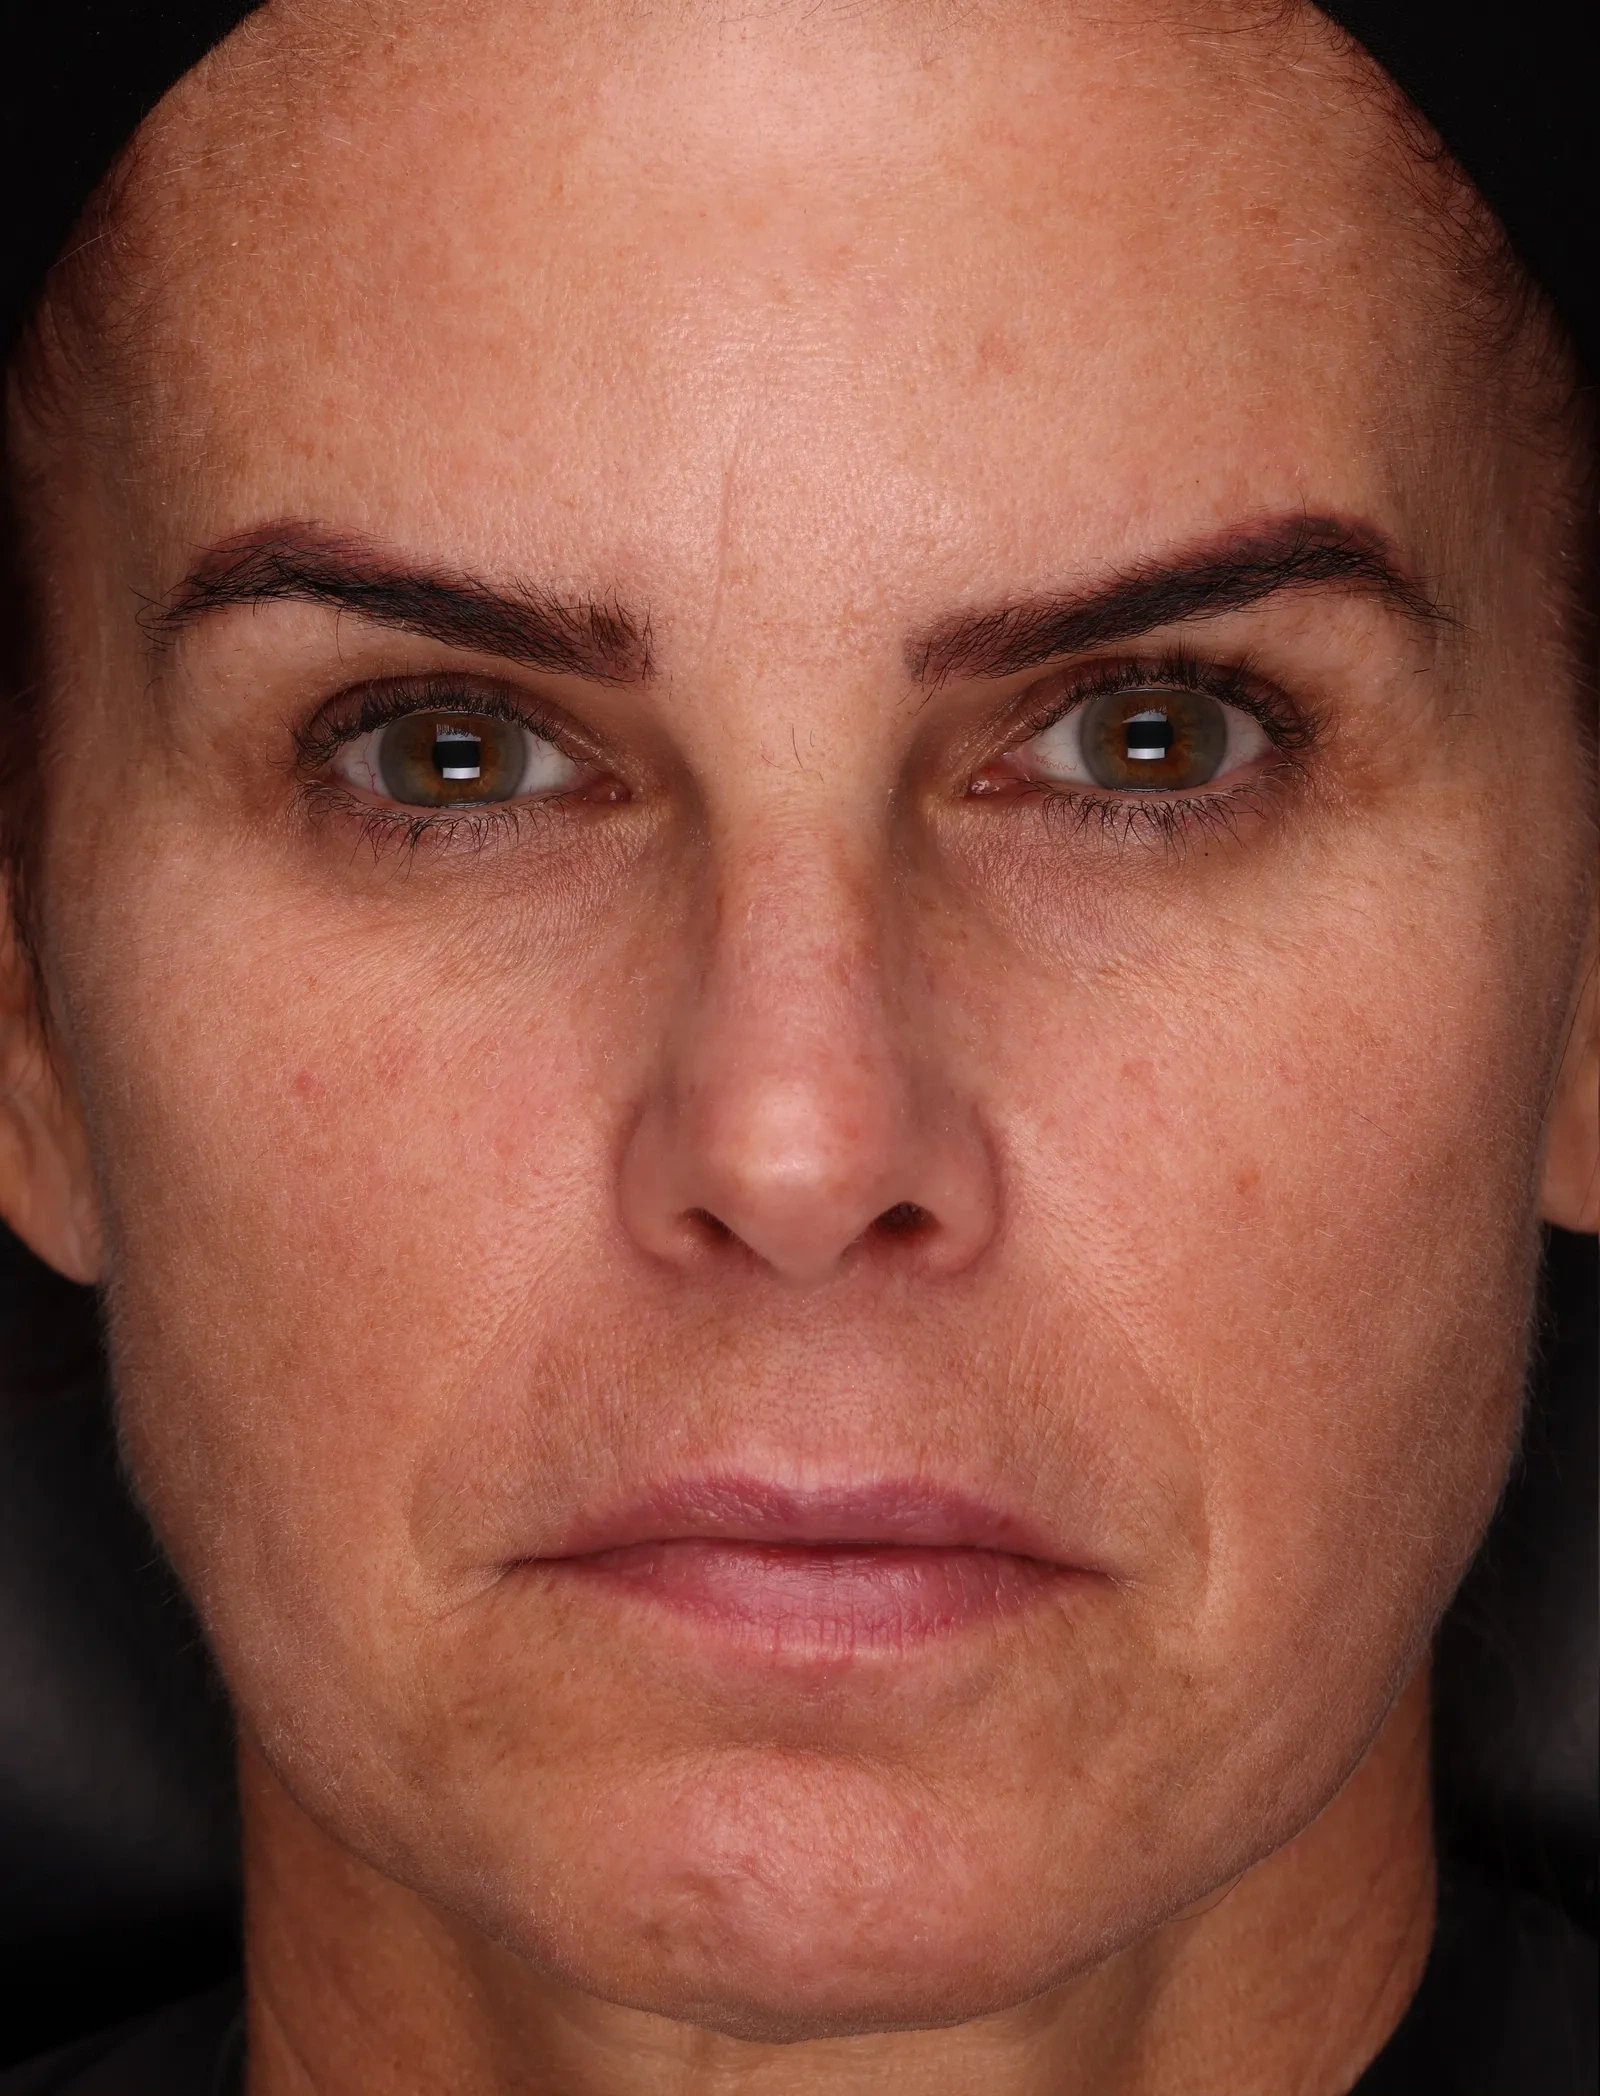
Keep scrolling. Both visits zoom together from the full face to the under-eye, so the change stays side by side the whole way in.
2. On a website or social post
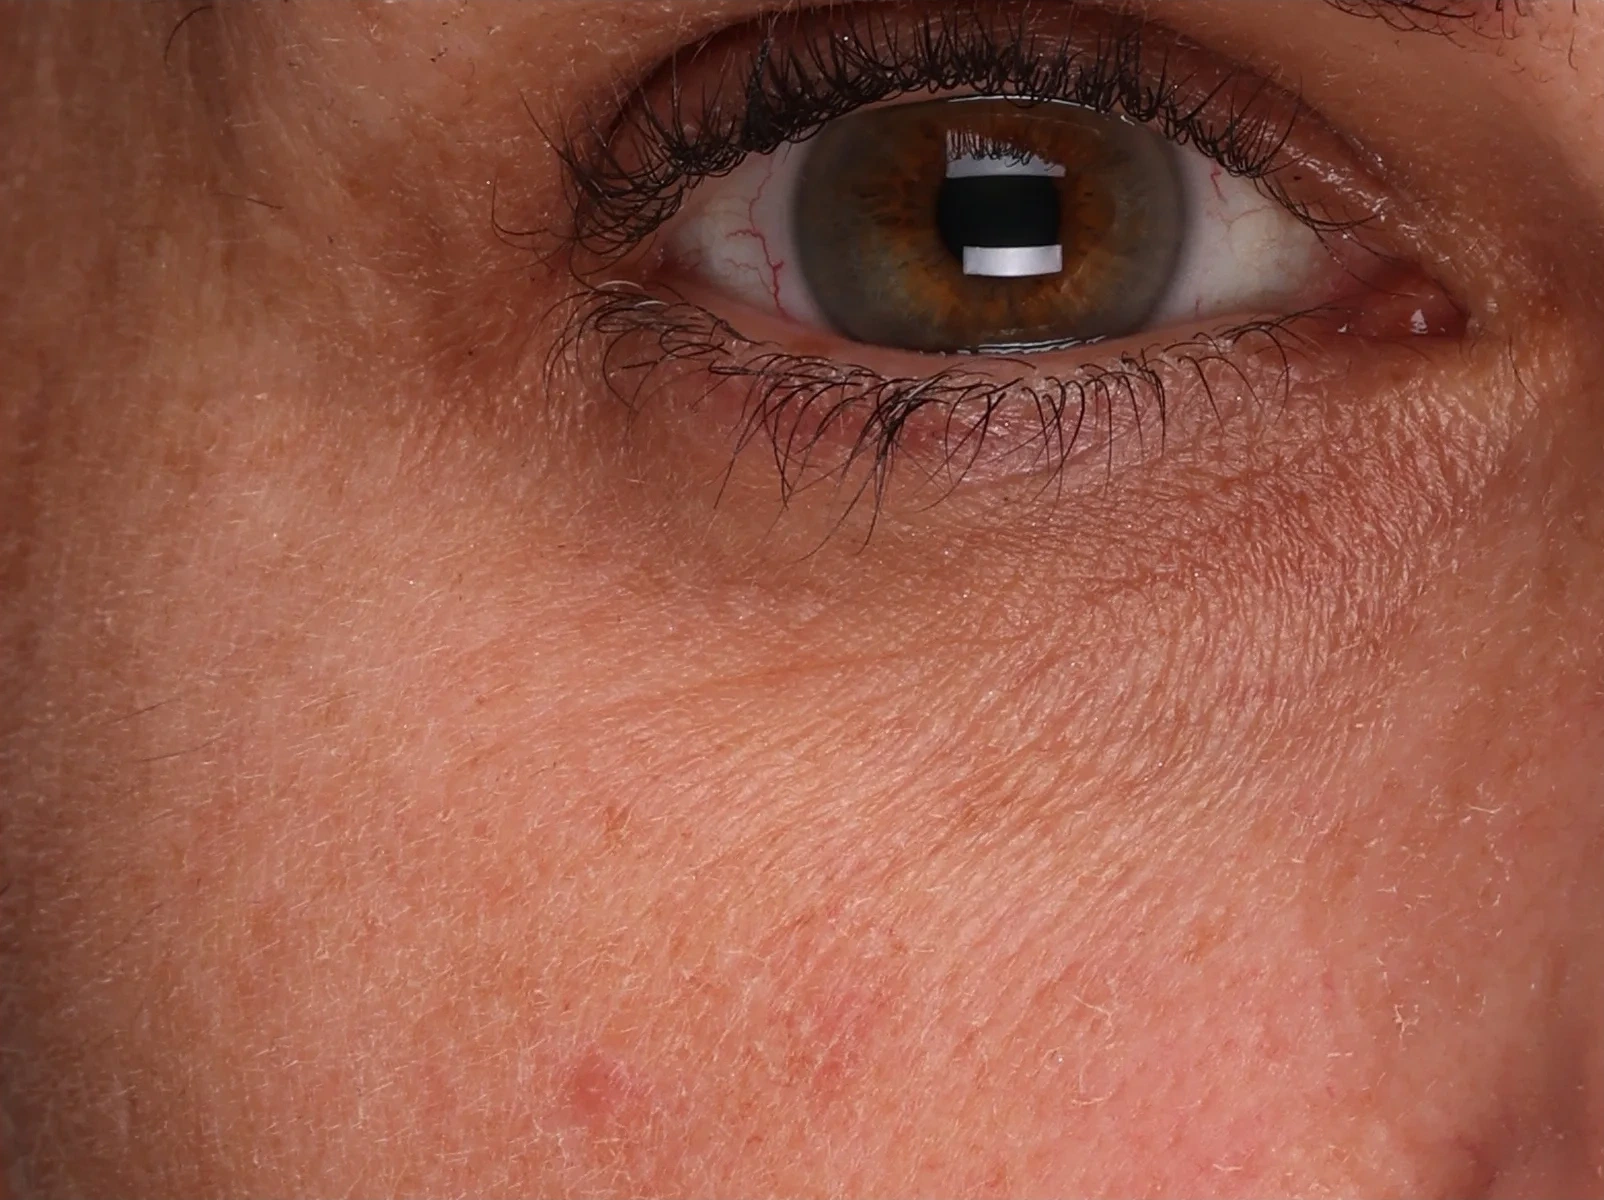
Side-by-side slider
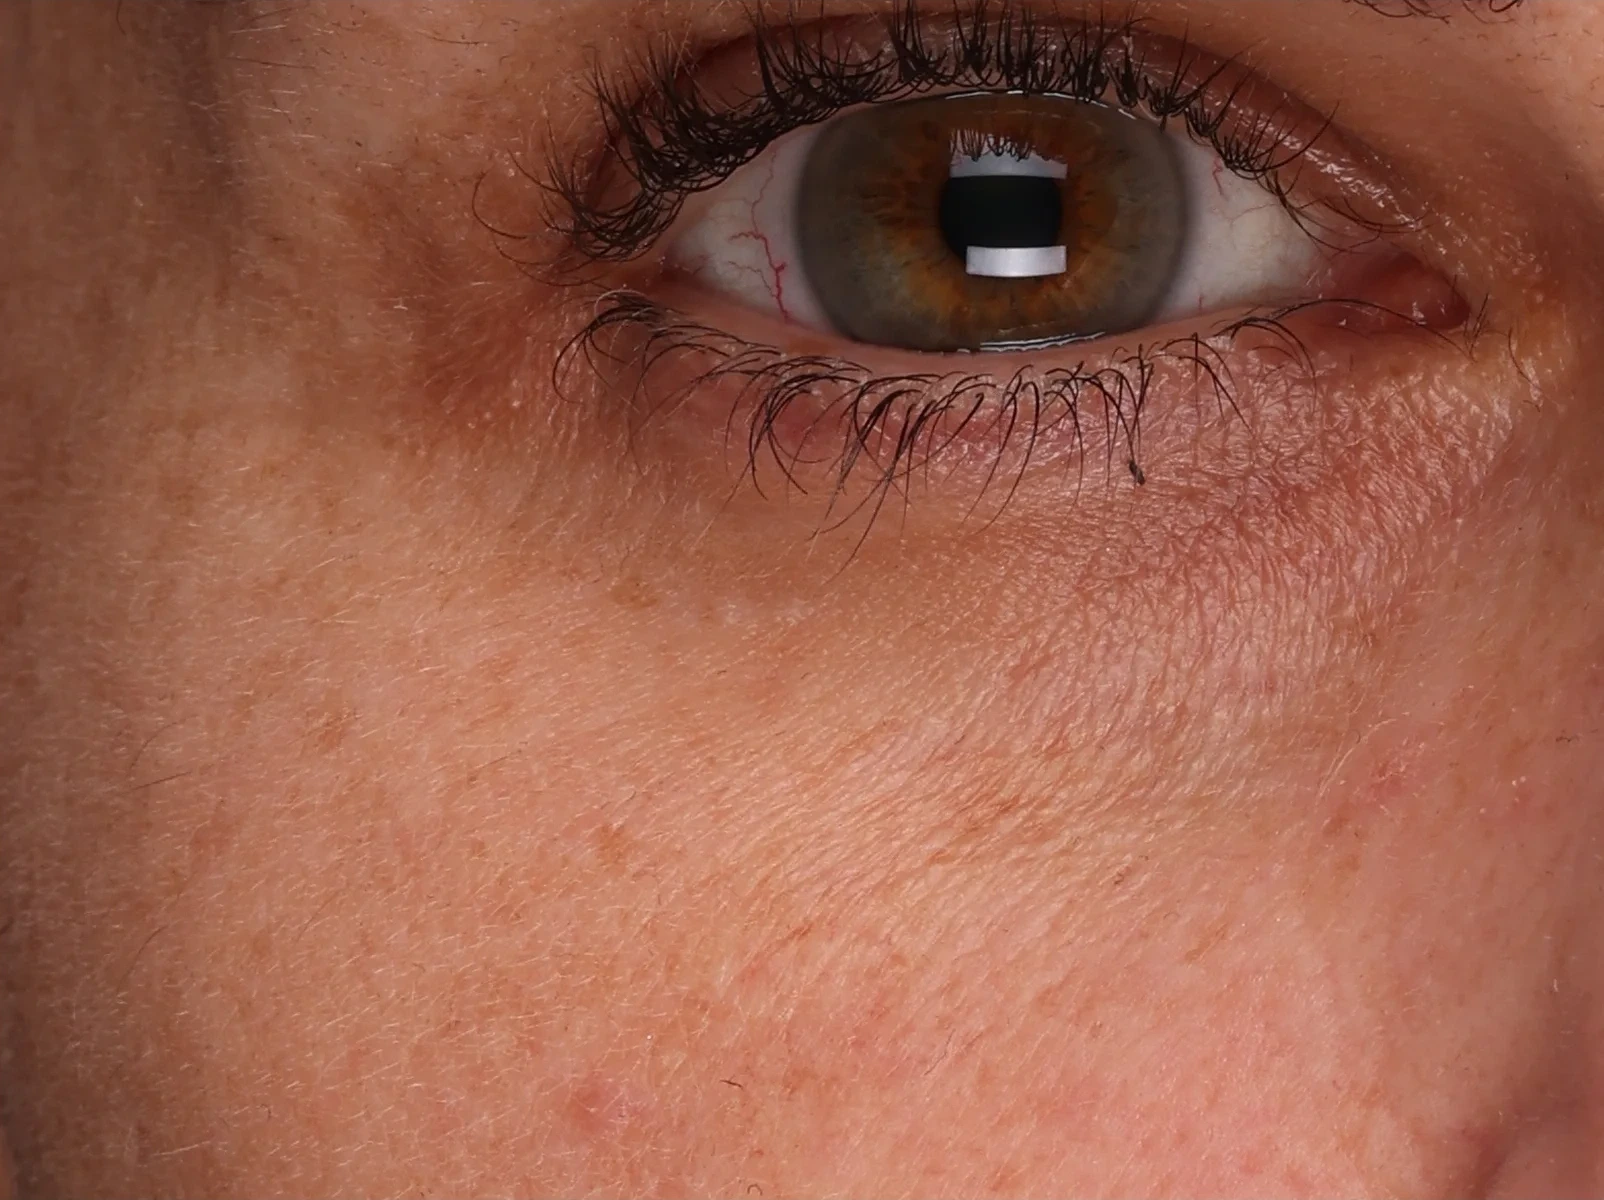
Drag across the under-eye. Same crop window on both visits, and the frames line up to within a few pixels, so the line you drag is the only thing moving.
3. On screen, desktop
Magnifier
Move over either face. The magnifier opens on both visits at the same spot, so you can check any patch of skin without losing the full-face view.
BaselineWeek 3On a phone, press and hold a photo to open the magnifier.
4. Image analysis
Measurement overlay
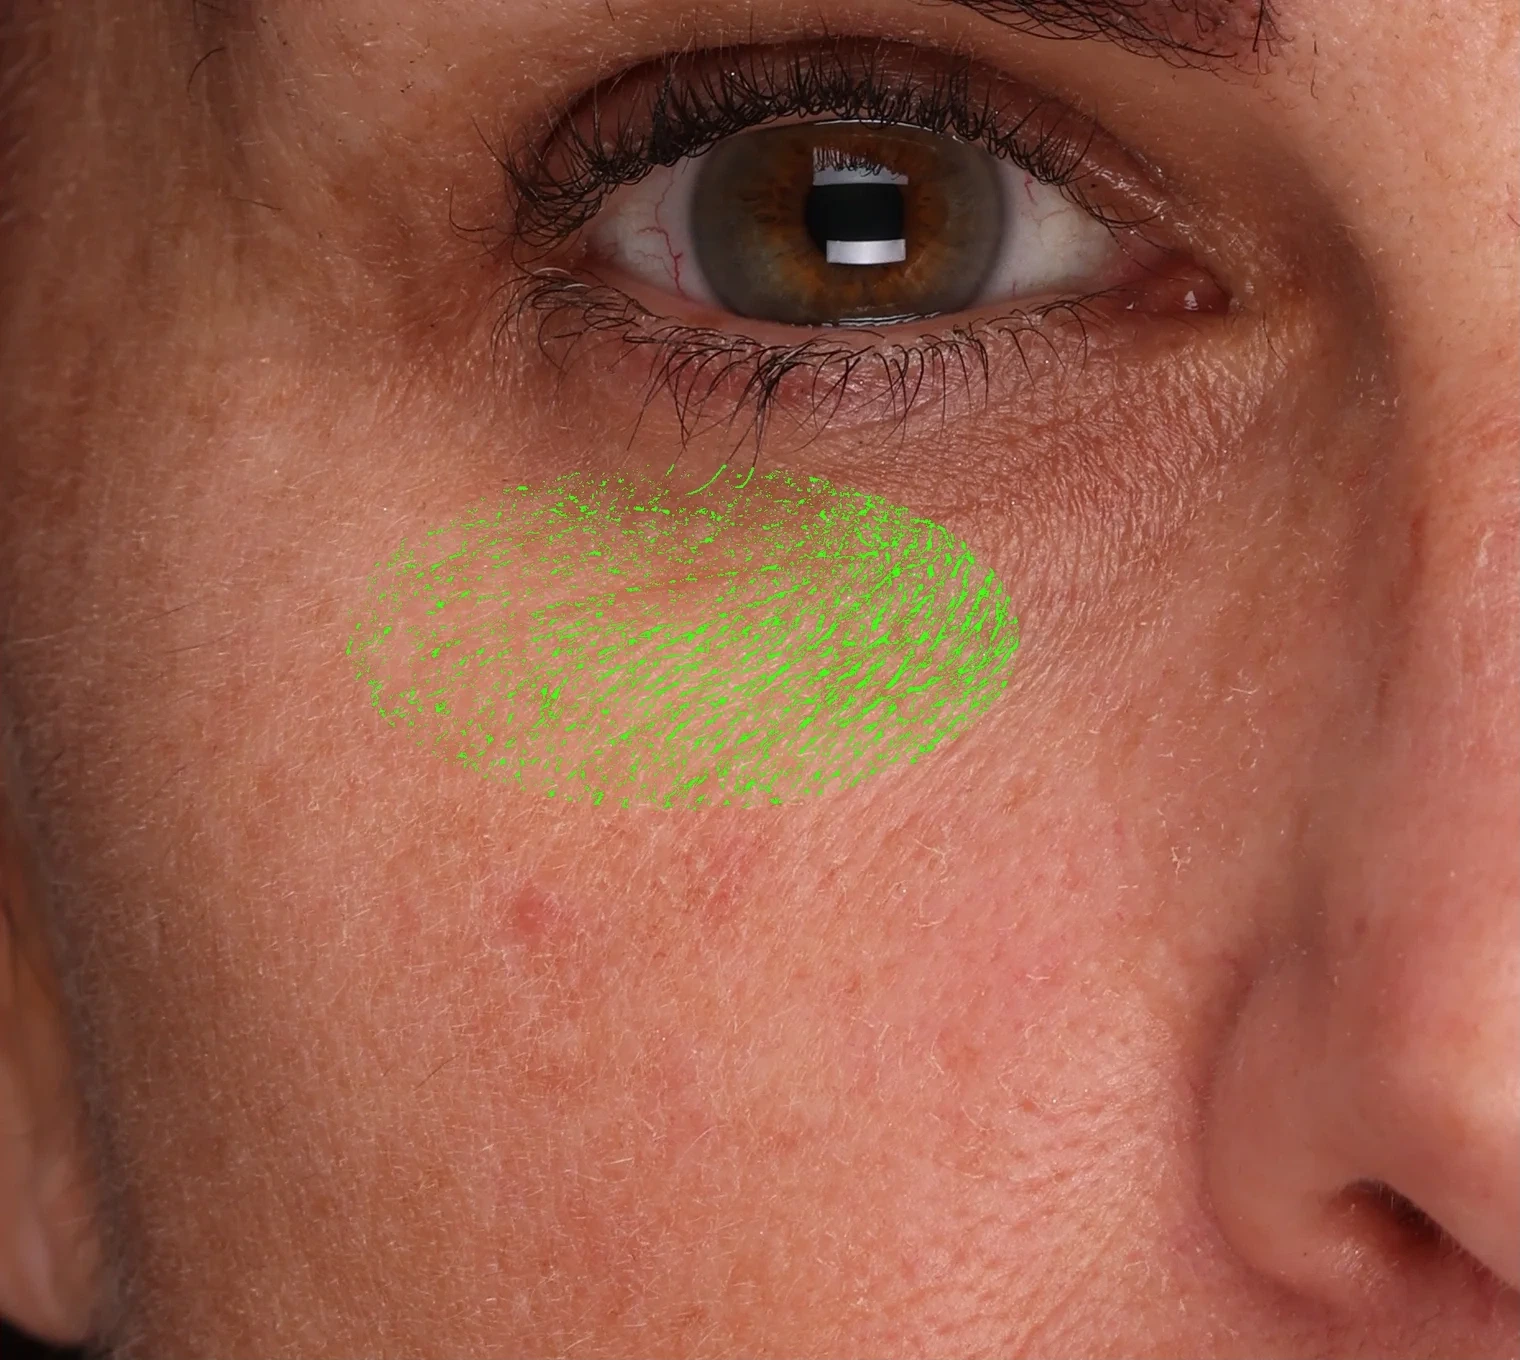
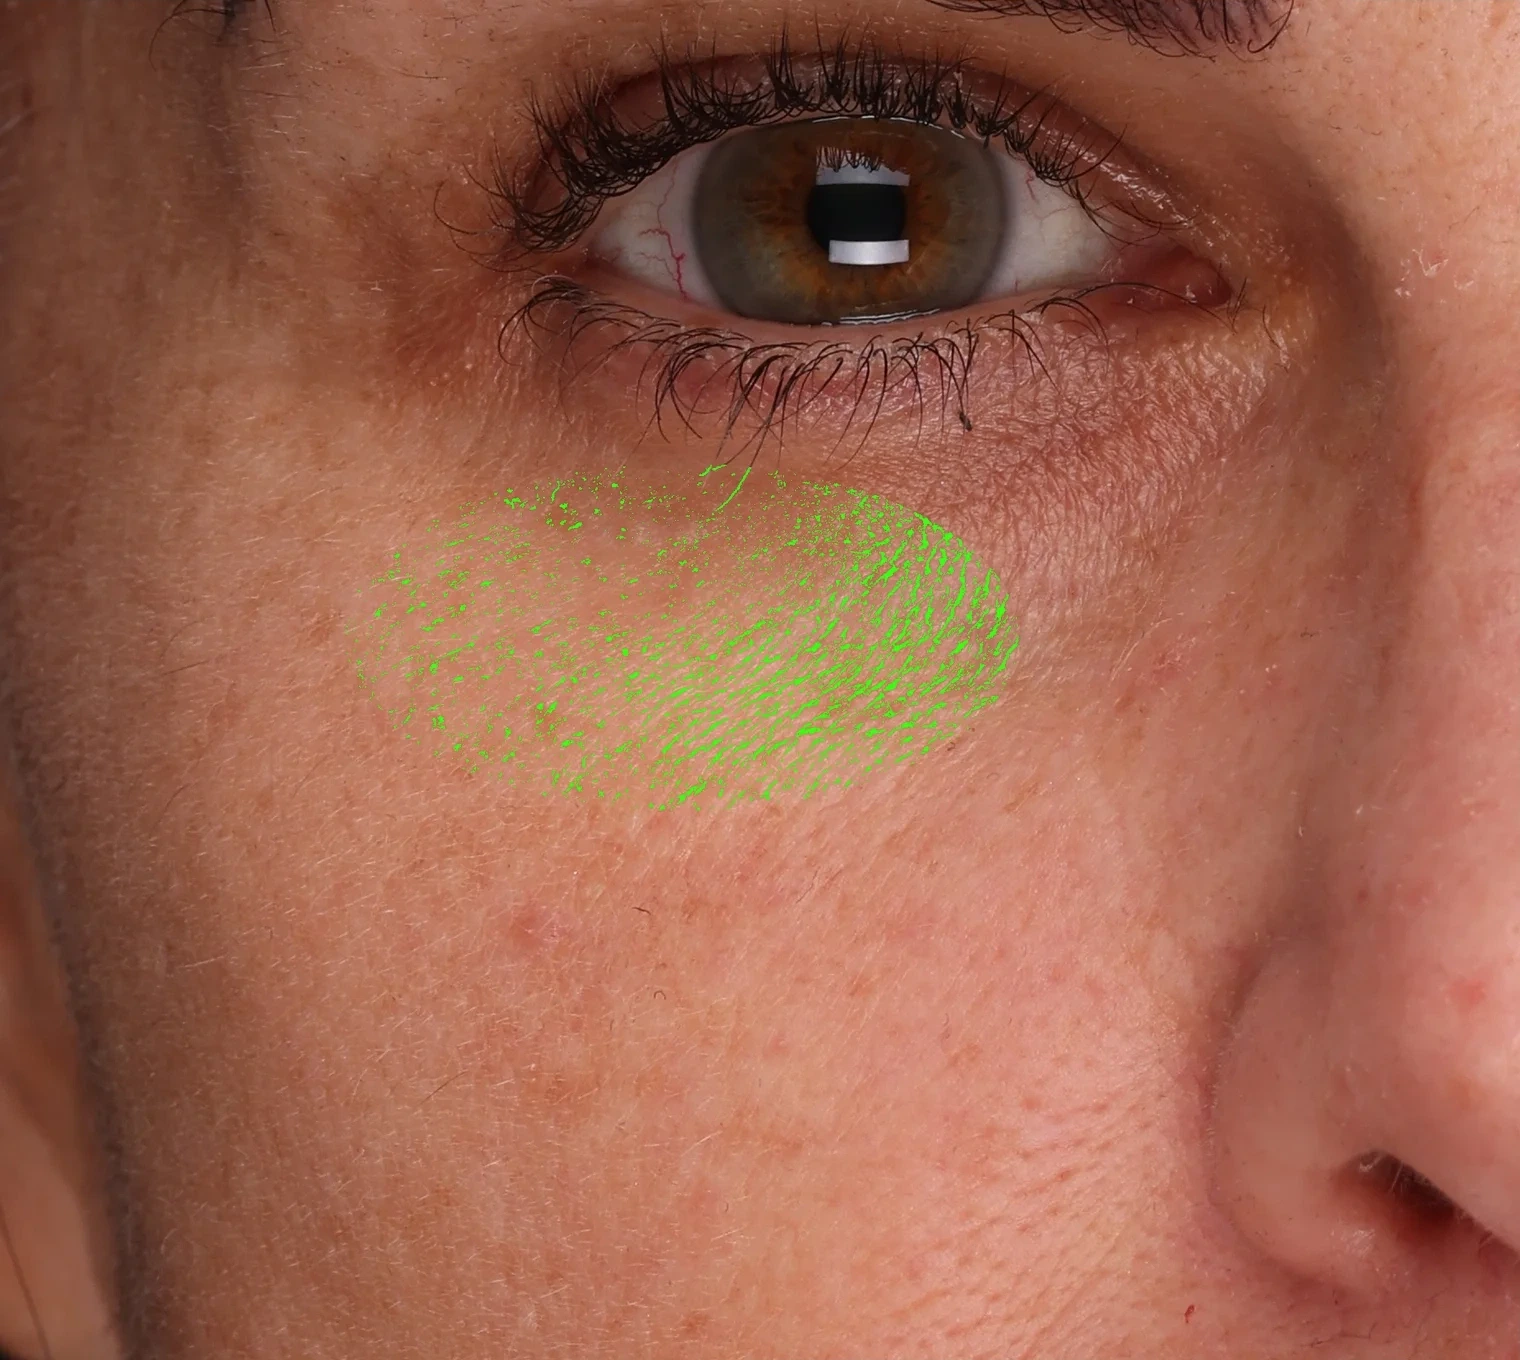
Switch the overlay on to see exactly what was counted. Fine lines are measured in the oval under the eye and redness in the cheek zone below it. The two zones do not overlap, and each is identical on both visits.
Fine lines
−27%fine-line pixels inside the oval, baseline to week 3: 46,859 to 34,173.
Fine-line pixel: darker than the skin around it by more than 3 L* units (21-pixel window).
Redness
−67%red-spot pixels in the cheek zone below the under-eye, baseline to week 3: 8,726 to 2,890.
Red-spot pixel: redder than the skin around it by more than 3 a* units (21-pixel window), the same local method as fine lines.
Individual result shown. Draft measurements for review.
5. Print, booth and billboard
Highlight the area and pull it out
For print there is no hover and no motion. A thin ring marks the under-eye on each face, and the magnified circle sits in the panel below, so the change reads from across the room.
6. Print, sell sheet and deck
The measured case study
The finished case study page: the cropped area only, the analysis behind the number, and the method printed on the page, so a reader can check the claim for themselves.
BaselineWeek 3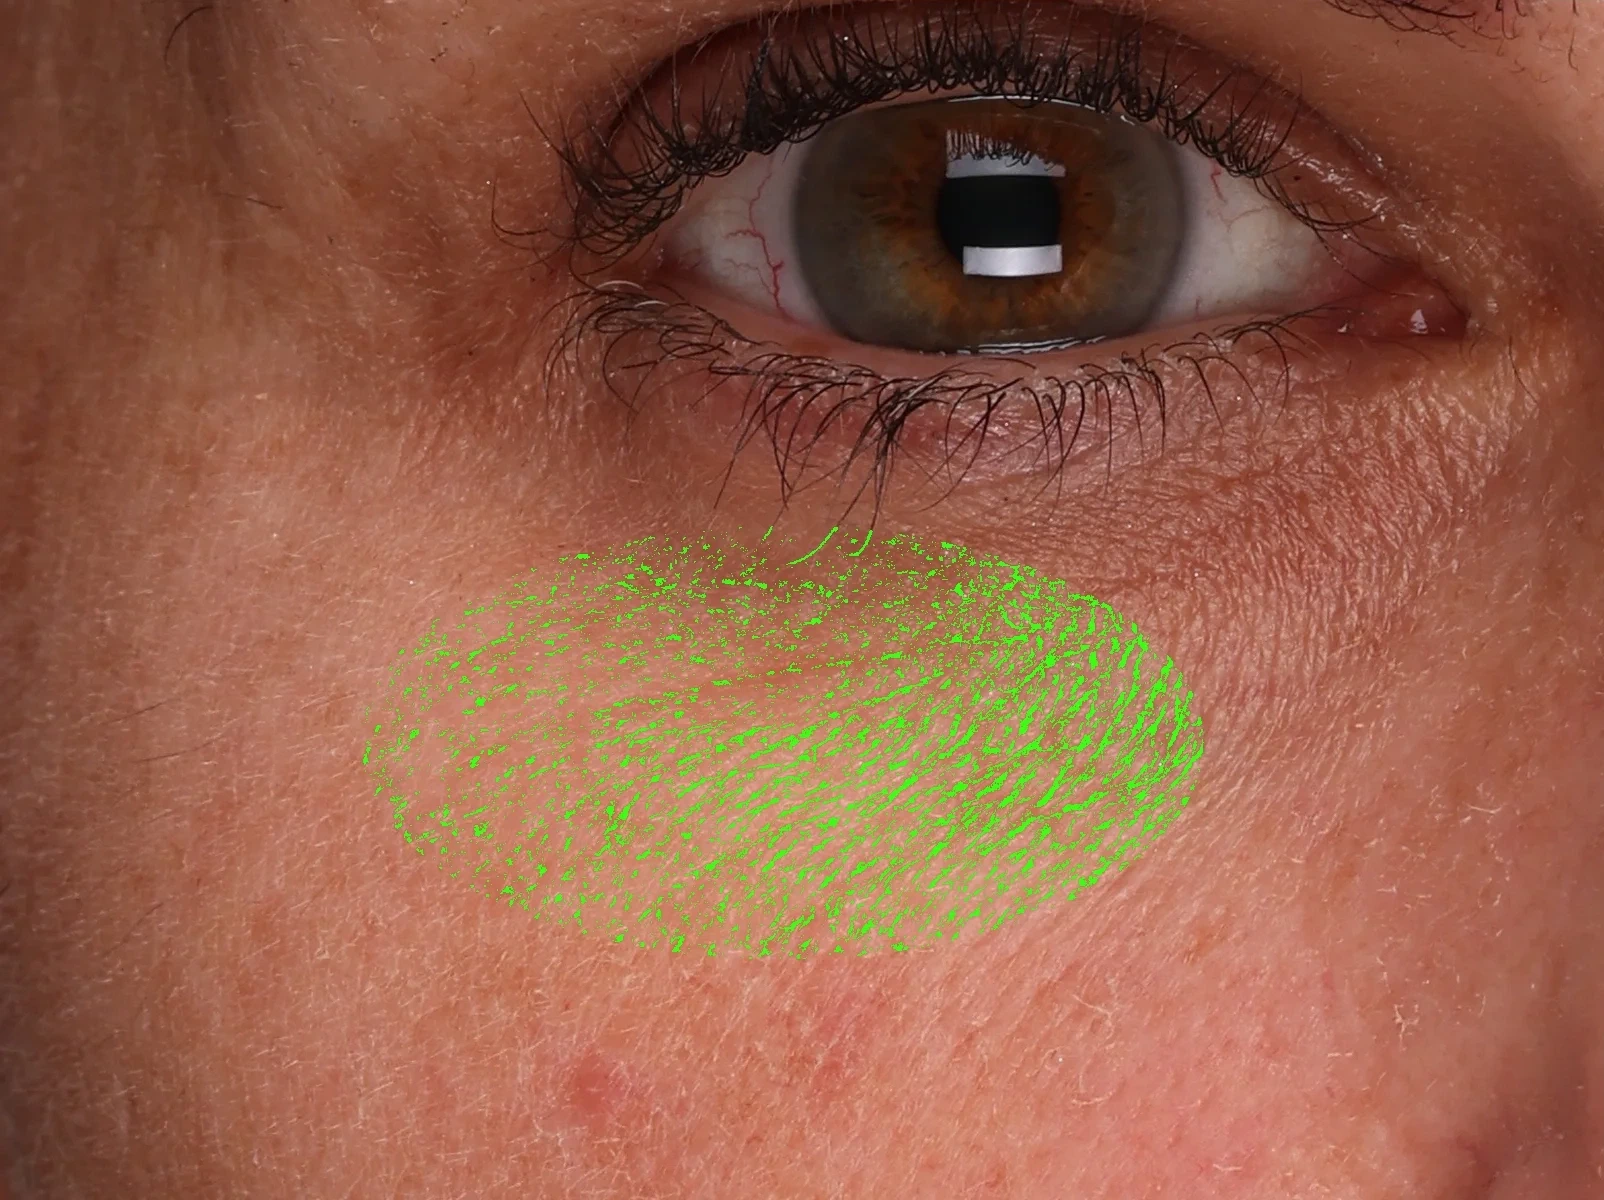 Baseline
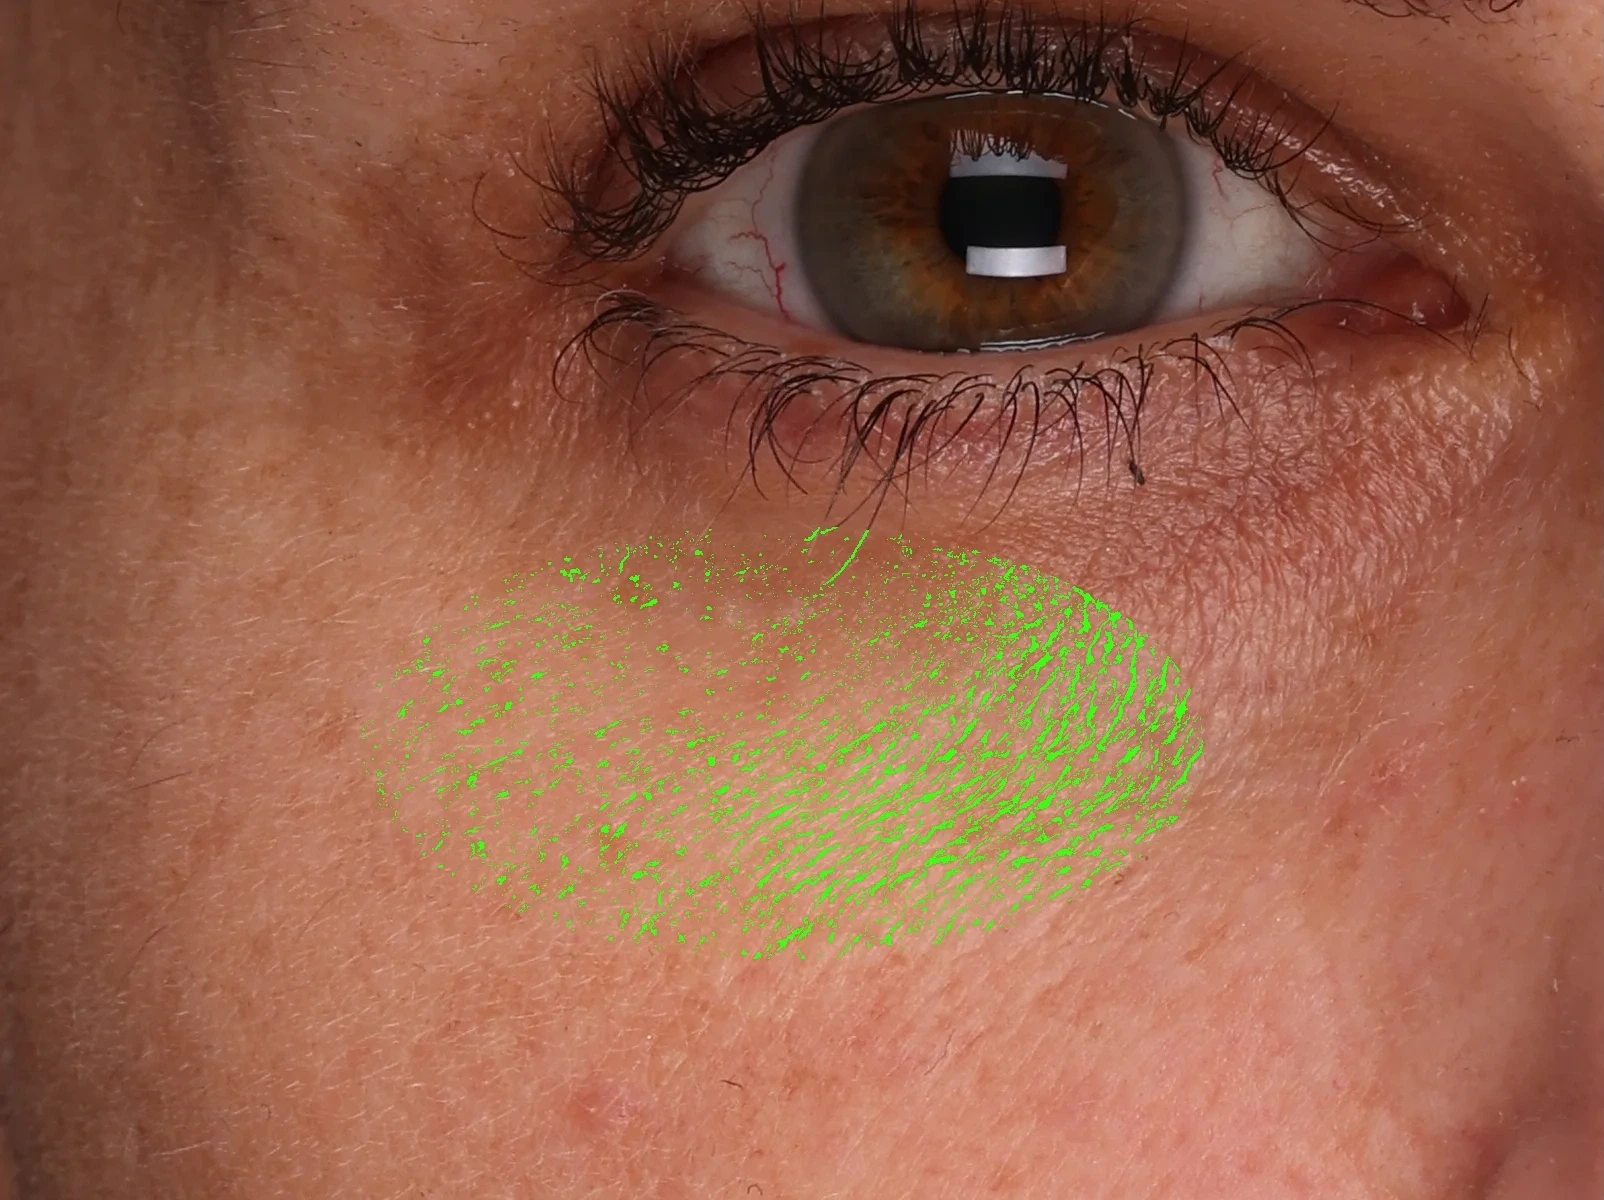 Week 3
Keep exploring
Learn about VCS Photography
Every part of how we photograph studies: the gallery, how we capture each visit, marketing or clinical style, and a case study shown six ways.
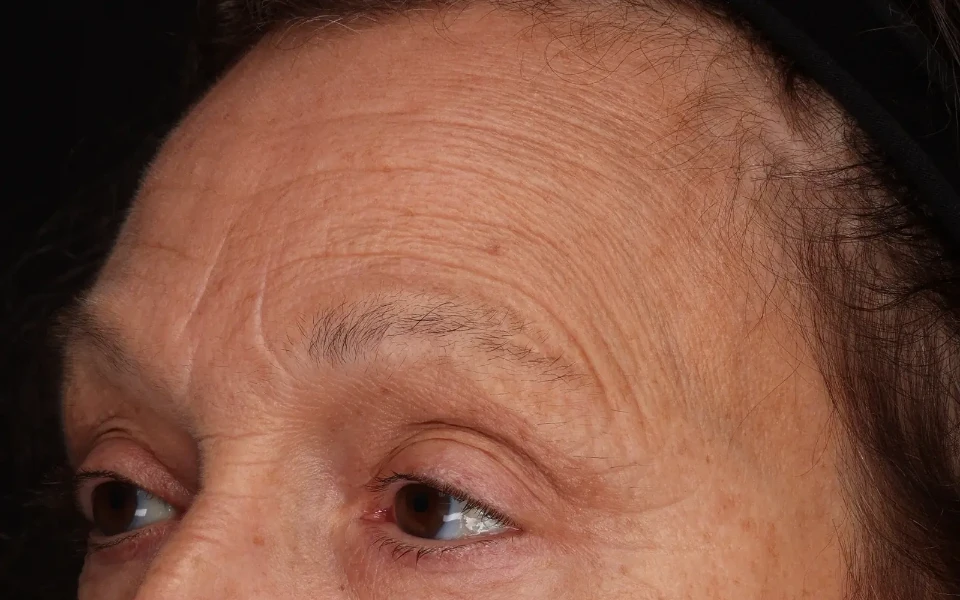 Photography GalleryBefore and afters across face and body, with zoom, sliders and print layouts.See the gallery
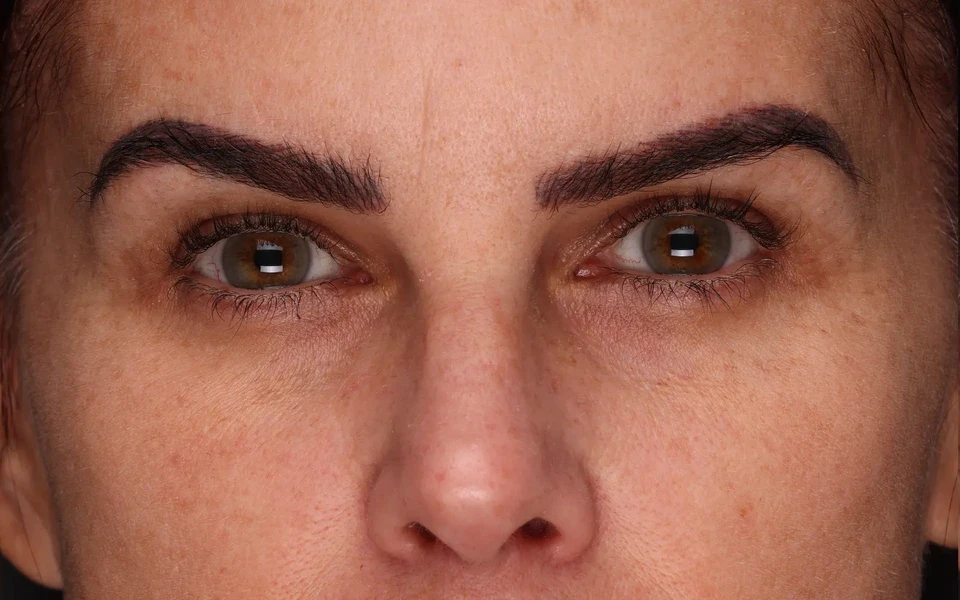 Before and After PhotographyHow our clinical studio captures every visit the same way.How we photograph
 Marketing versus Clinical PhotographyWhite background or black background, and how one study can give you both.Learn about the difference